After my introduction here comes the first part of the actual tutorial! First of all I want to let you know that I had to use a pillow because there was no one who wanted to be my *test object*.
Well, let´s start with the things you will need to tie the Tateya musubi - 立て矢結び (standing arrow knot) :

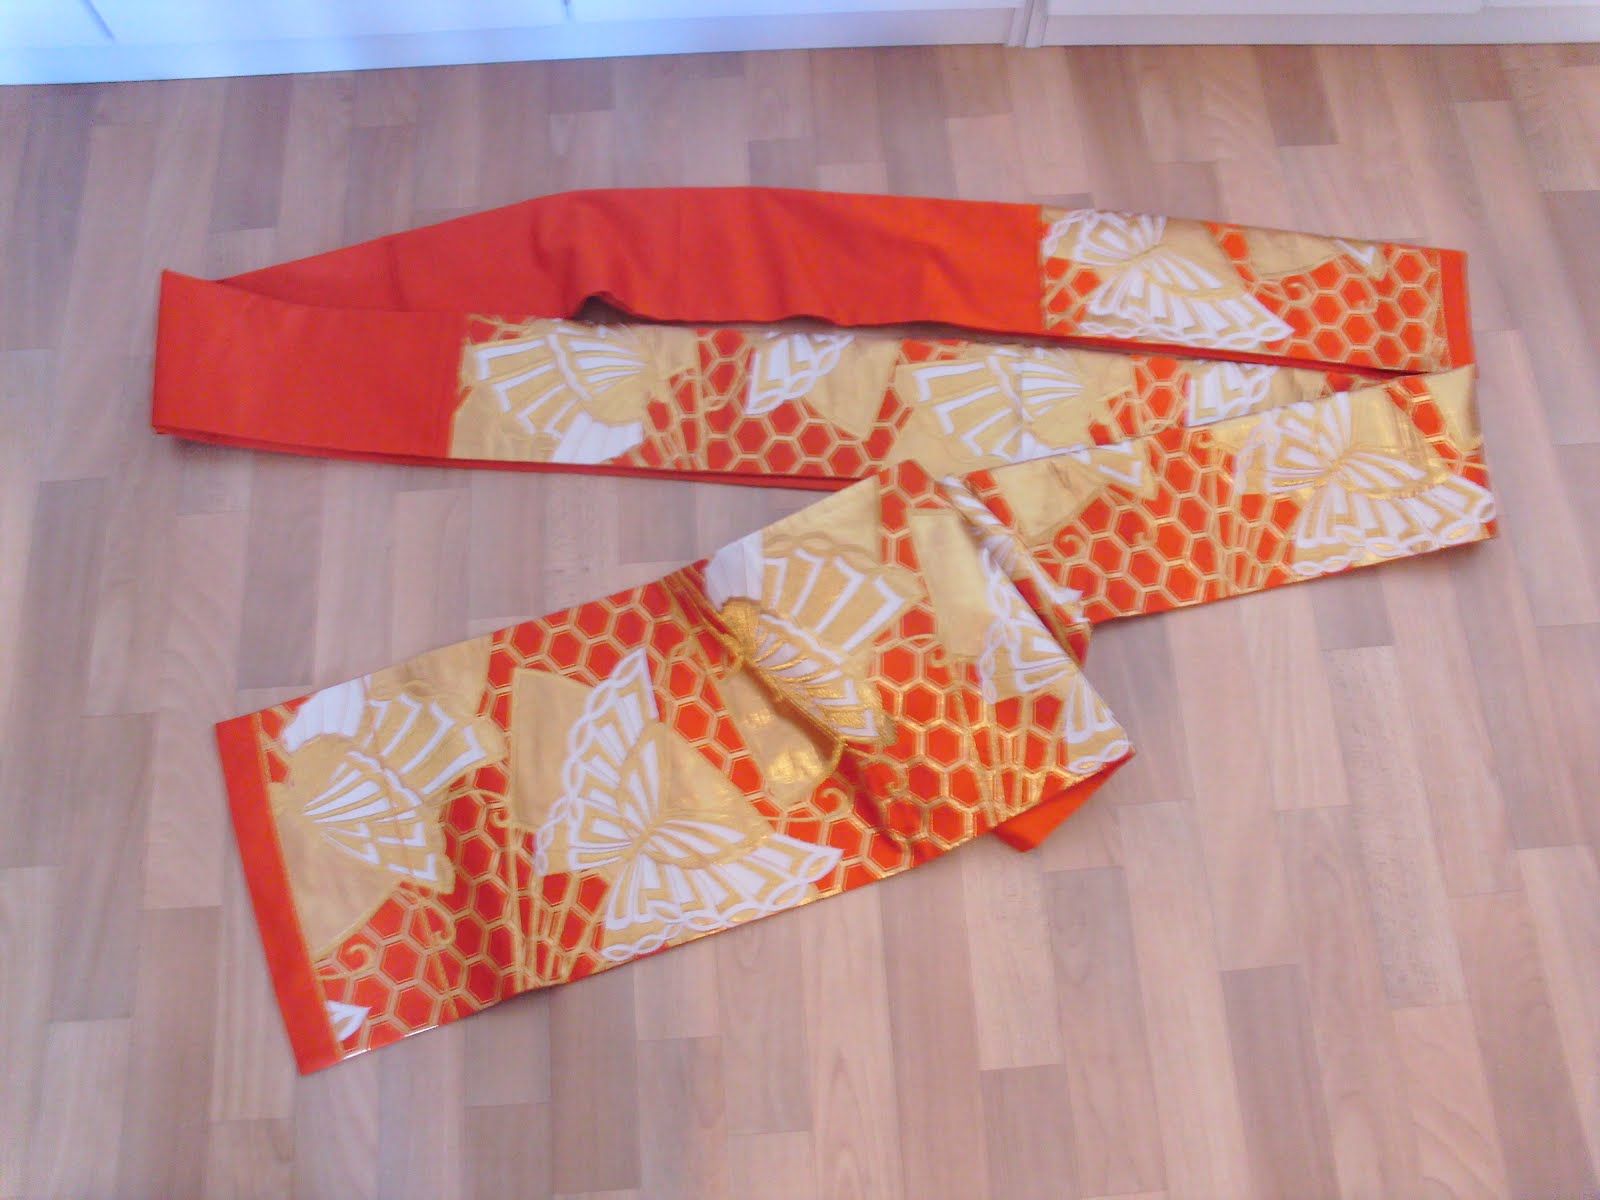
1: Fukuro Obi (here I used a Rokutsuu fukuro obi)
2: Obi makura
3: Obi ita /Mae ita
4: Obiage
5: Obijime
6: 2 Koshihimo

Put the Obi ita around your waist
fold ca. 70 % of your Obi 50/50

the open part has to be on the right side

on the back side it has to look like this

then start to wrap the Obi around your waist 2 or 3 times ...

... until you only can see the patterned part of the Obi on both sides

after the wrapping, fold your Obi like this on the back side

take one of the Koshihimo, double it up and then put it over the folded part

now you have to tie the Koshihimo on the front side, one string through the loop ...
... make a ribbon

now slip the tyied Koshihimo behind the Obi layers

after all it has to look like this on the back side

now take the end part of your Obi ...

fold it like shown in the picture above, the end part behind the front part

and then you get this shape

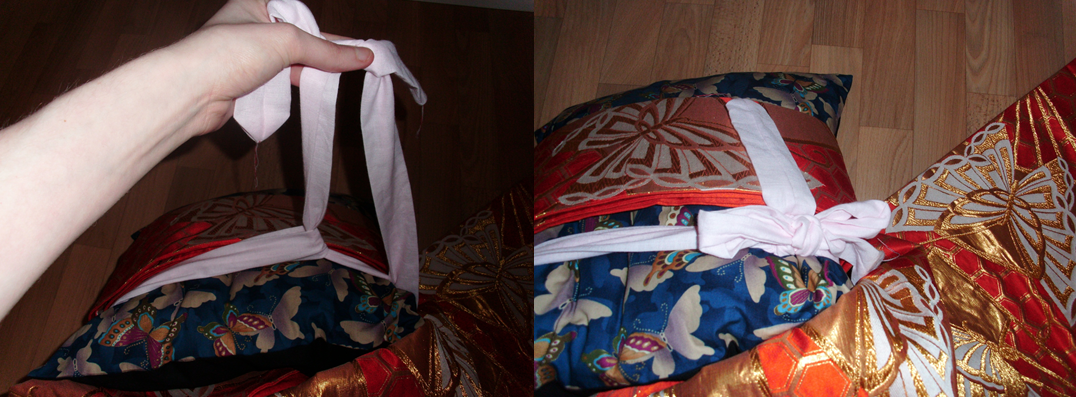
next step: take your Obimakura and Obiage, put the Obiage over the Makura

now set the Obimakura under the folded layer,
then press the middle part together to get the bow shape ...
~*~
That was the first part. I am sorry for my bad English description, but I really hope you´ll understand what I mean and the pictures are kinda helpful.
The second part will follow soon =D


0 Kommentare :
Kommentar veröffentlichen