I want to show you a very cute Obi musubi tutorial this time.
It´s called ウサギの耳 (usagi no mimi) which means rabbit ears ♥

Actually you use a Nagoya Obi and wear this kind of musubi with Komon kimono but the problem is that I´ve no Nagoya Obi and so I had to use one of my Fukuro Obi. A part of Nagoya Obi is always already folded and that makes it easier to tie though before you start tying Fukuro Obi you have to fold it in half by yourself.
I will also use two important words for this tutorial:
Tare and Tesaki


However ... now lets start with the things you need:

1st: Fukuro Obi (actually a Nagoya Obi!)
2nd: Obi ita
3rd: Obi makura
4th: two Koshihimo
5th: Obijime
6th: Obiage
1st step: Since I use a Fukuro Obi I have to fold up around 75% in half first:

2nd step: take the Obi ita, tie it around your waist and close it on your back:


3rd step: the open part of tesaki has to be on the left side of your shoulder:

4st step: start to wrap it around ....

5th step: wrap it again

6th-7th step: in the end I had to wrap it around 3 times until I saw the pattern of the Obi only

8th step: after this fold the tare like you can see here

9th step: take your first Koshihimo (tesaki and tare are now above)

10th step: bring the Koshihimo to the front and make a loop

11th step: tuck the loop underneath your Obi

12th step: the tare part is now "hanging" down

13th step: now we want to build the rabbit ears! Take the tesaki from above and fold it down

14th step: then fold the right part up like you can see on the following picture
 |
| that are already the rabbit ears ♥ |
15th step: use now the second Koshihimo and slide it over the rabbit ears

16th step: then bring the Koshihimo to the front, make a loop and tuck it underneath the Obi.
Your rabbit ears are ready!

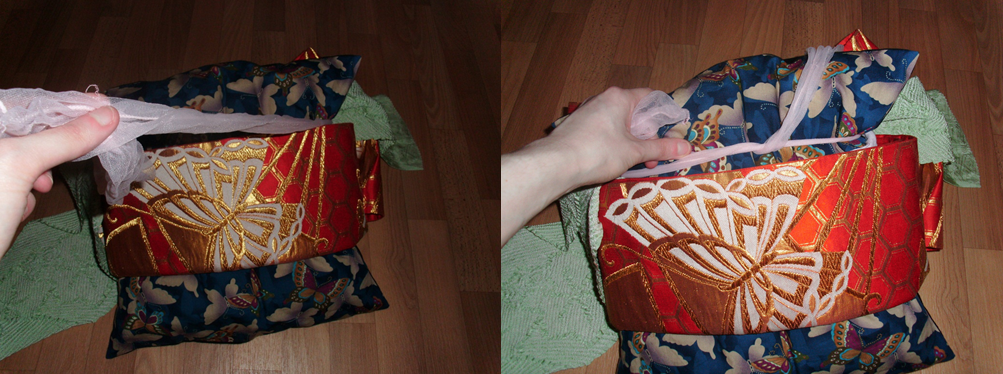
17th step: Time to use the Obimakura and Obiage

18th step: put the Obiage over the Obimakura

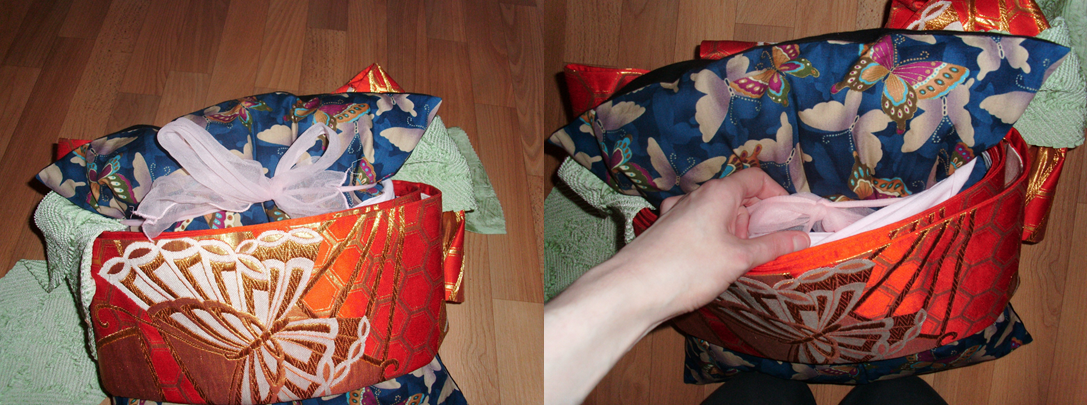
19th step: fold the tare part up and put the Obimakura underneath the Obi. The flat part of the Obimakura touches your back.

Bring the strings of the Obimakura to the front, tie and then tuck them underneath the Obi. You can see how you have to tie the Obiage in my previous tutorial, so I skip this part now!
20th step: now the final steps ... tuck up the tare and then put the Obijime on the center part of Tare, bring the Obijime to the front and tie it (you can see how to do it in my previous tutorial!)

the end of o-taiko has to have the same length like your forefinger:

FINISHED!